Scanning a textbook
Textbooks are a thing of the past. No, that’s not exactly what I mean to say. More precisely, the physical format of textbooks is a little bulkier than necessary. I’ve adopted a new approach, which is to scan my textbooks, and then read them on my tablet. It’s lighter, I can keep all my textbooks with me, and they are fulltext searchable. I can highlight and annotate the PDF, and it’s all good. The only downside is that some textbook publishers have got it down, and they put out some beautiful, archival-quality works. The $150 price tag might be steep, but in some cases, the quality is so high that it just might be worth it. So, as long as you’re comfortable with the idea that your entire academic library can be lost in an un-backed-up instant, then you’re ready to digitize your textbooks. Read on.
the tools for unbinding
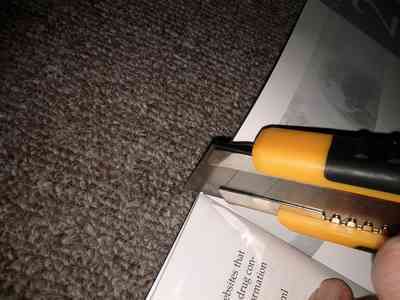
It starts with the tools. I use a box cutter and a guillotine-style paper cutter to unbind the textbook.
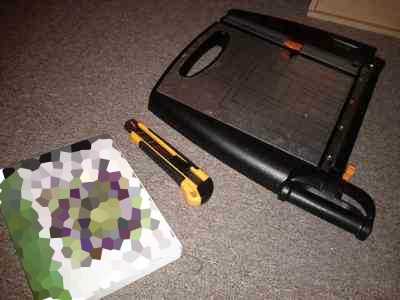
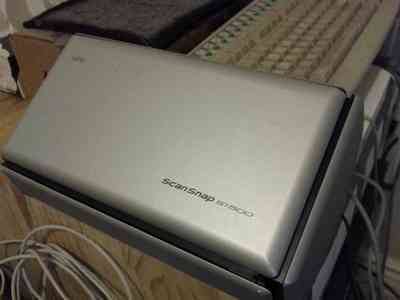
Then, to bulk-scan everything, I use the amazing Fujitsu ScanSnap. It’s probably not worth the time to do this job with a flat-bed scanner. Yes, these scanners are $400-$500, but I’ll argue that it’s worth it, if only for the home-office angle. Get one, or use the one you might have access to at work.
The general idea is to split the textbook into individual pages, then stream all of those pages through a form-feed scanner. A book is created when separate pages are glued together at the spine, so to un-create said book (returning it to its elemental pages), simply destroy the spine. I’ve heard of people using a table saw for the job, but my method is a little more apartment-friendly. We’re simply trying to separate the pages from the glue, and a blade is fine for the job.
cut the book into segments
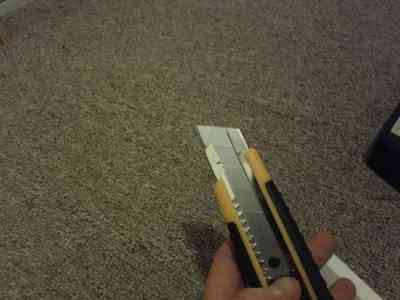
Start by extending the blade about an inch or so. This isn’t a half-hearted thing. We want to cut straight-through the glue, all the way.
Then, grab about 10 or 15 sheets.
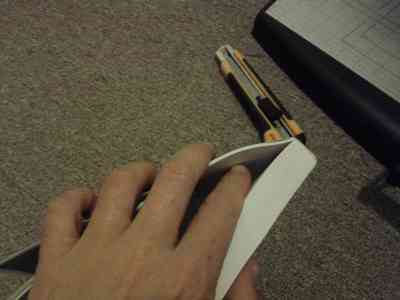
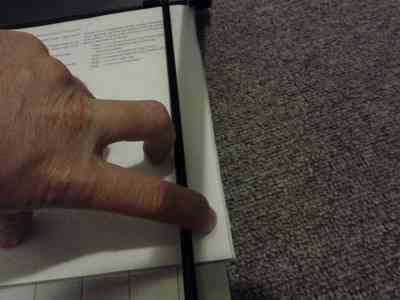
Fold the spine so it’s flush against the ground…
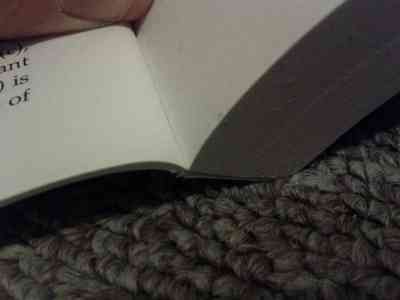
…and cut straight through the glue of the spine. Take note that we’re not cutting through the paper. That was my first strategy, but it’s way too much work.
You will be slicing between the pages, right through the binding.
After the first cut, you will have a packet of 15 pages, still glued together. It is like a little pamphlet now.

After the book has been segmented
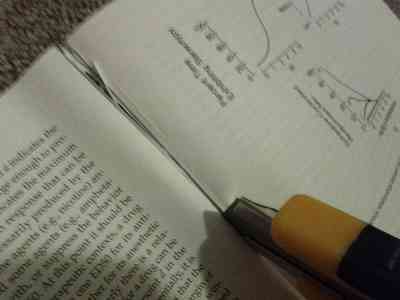
Keep cutting through the spine, 10 or 15 pages at a time. When you’re done, you will have lots of pamphlets that are largely intact. If you’re doing it right, you will have created a minimal amount of scraps/waste.
The reason I suggest doing 10 or 15 pages at a time is that the guillotine-style paper cutter needs to be able to slice through those pages, because this is how you actually remove the glue from the spine. In the picture below, the spine is hanging over the edge of the paper cutter by about half a centimeter.
It’s important to cut off enough of the spine that you remove all of the glue. If you don’t, then some of the pages will still be stuck together, and they won’t go through the form-feed scanner properly. This is the biggest source of jams I’ve encountered so far.
On the other hand, you don’t want to cut off so much of the page that you lose any of the text. It also looks nicer when the text isn’t flush against the edge of the page. Once you’ve found the right amount to cut off, set the guide on your paper cutter (if it has one) to ensure that all of the 15-page packets end up being cut at the same point.
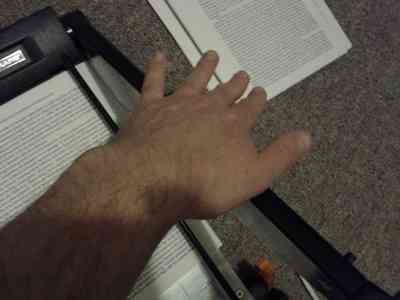
Even though my paper cutter has a handle, I’ve found that this is not always the most effective way to cut. The handle implies that you should use it to apply all of the force, but this is just a suggestion. In the picture above, I’m pressing on the middle of the blade, but I would be remiss if I didn’t mention the risk of slicing all the fingers off your hand.
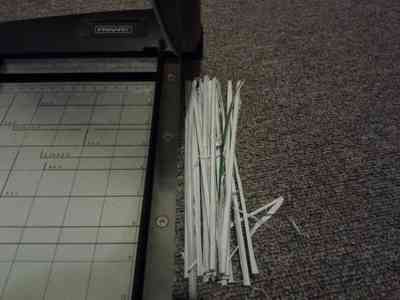
Once that’s done, you will have a stack of paper consisting of all the pages of the textbook, and a pile of spine left over. Now feed the stack through the scanner, using the OCR software that probably came with it. I assume you’ve done this part before, so just do what feels right.
Congratulations! You don’t have to lug your textbooks around anymore! If you want, you can now re-bind your textbook, but that’s beyond the scope of this article. I’ve done it before, so maybe I’ll write about that some time.
Don’t be an asshole
I’ll also say something else: now that you have a PDF of your textbook, don’t share it with people who haven’t bought the book. I know it seems like a rip-off when you pay $150 for a textbook, but it’s not like academics become millionaires from their textbooks. Think of these authors as being like small-time artists. If they’re lucky, they sell a few thousand copies per year, and they get some fraction of the sale price. Just like with the music industry, the publisher takes most of the money. So let’s say some bent-over academic sells 2,000 copies of their book each year for 10 years, and they get $15 for each one. This $30,000 per year won’t put them in a different tax bracket, and you, as a student, are not getting personally ripped off by the person who wrote the book.
So: don’t be a dick. For the most part, these are good people, and the way things are going, university-level academics tend to live lower-middle-class lives. The media likes to portray academia one way, but like everything else, this is a distortion. I will reiterate: don’t steal from these people. If you’re rich enough to be in college, then your family may well be richer than your professors, and only an asshole steals from people poorer than themselves.